You’ve seen the rose bush of your dreams, but its owner is unable to give you its name so that you can get an identical one?
The obvious solution is to take your first steps in the world of rose propagation. Easier than it seems, the method involves taking cuttings from a mature rose bush. However, you'll need to be patient. It's worth mentioning right away that your new rose bush won't bloom for years.
Nonetheless, it's a fun and highly rewarding project! After all, propagating a plant is one of the joys of gardening!
GOOD TO KNOW : It is illegal to market, sell or promote a patented plant. Of course, most gardeners do this for the pleasure of experimenting. As long as the plants produced stay in your yard, you don't run much risk.
When is the best time to take rose cuttings?
Cuttings are ideally taken in the spring or fall, from the soft or hard wood of a mature rose bush. Here are some tips to follow for a better success rate.
- Take your cuttings when the temperature is between 21 and 27 °C, ideally in the morning.
- Avoid taking cuttings from a rose bush that is in full bloom. Its energy is focused on producing flowers, and the stems won’t root. Wait until it’s done flowering.
- Water the rose bush you want to propagate by cuttings the day before.
Which roses to choose?
Make sure it is not a grafted rose. Since the rootstock and the top part are different varieties, the results may not be as expected.
Read our article to discover the easiest rose varieties to grow: 25 Easy, low-maintenance roses | PRO-MIX Gardening
How to propagate roses step by step
What you’ll need
- Sharp pruning shears
- Stake
- Grow light (optional)
- Adult rose bush
- Plant root stimulator
- Potting mix
- Sand and vermiculite
- Plastic bag
What to do
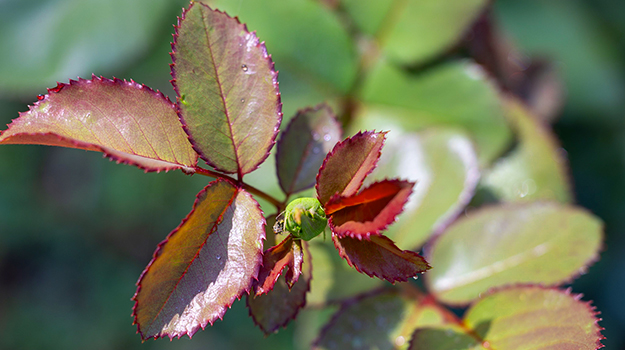
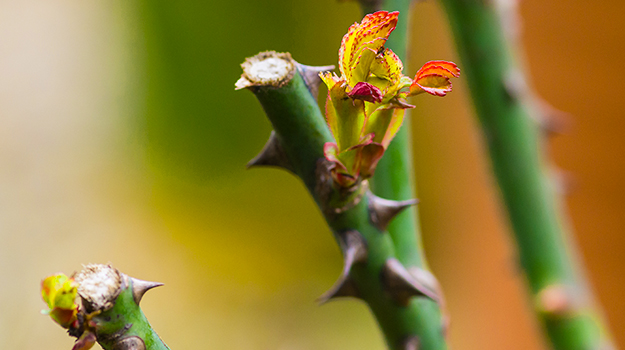
STEP 1: Select a perfectly healthy green stem that is fairly long and about the thickness of a pencil. It should also have at least three leaf nodes. These are the small bulges on the stem where the leaves and buds attach.
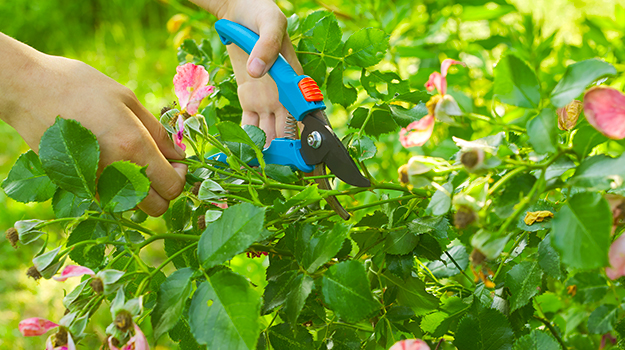
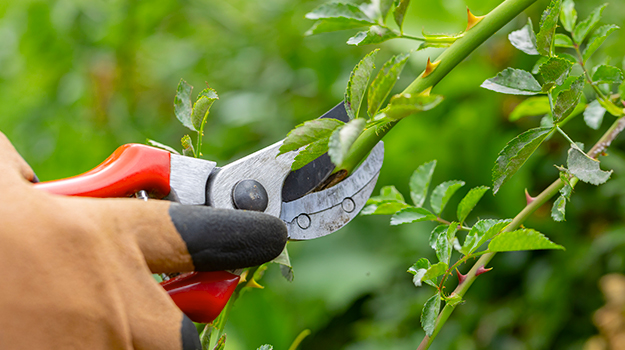
STEP 2: Cut the rose stem to a length of 12 to 23 cm, at a 45° angle. As success is not guaranteed, take several cuttings. Only a quarter or half of them will take root. Use sharp pruning shears. A dull blade crushes the stem instead of making a clean cut and leaves your cutting vulnerable to fungal rot. Between each step, until planting, keep your cuttings in water so they stay well hydrated.
PRO TIP: Disinfect your pruning shears with isopropyl alcohol and a clean cloth after each cutting. This prevents the spread of diseases from one plant to another.
STEP 3: Remove the flowers and flower buds along the cutting. Also remove the leaves, except for the two at the top. Cut off the part of the stem that extends above the two remaining leaves. This will encourage the stem to focus its energy on forming roots.
STEP 4: Cut the bottom of the stem just above a node. Then, using pruning shears or a sharp blade, make cuts about 6 mm long (lengthwise) to “open” the stem into 4 sections. This will facilitate rooting.
STEP 5: Fill small, disinfected containers with equal amounts of PRO-MIX Potting Soil, sand and vermiculite. Using a pencil, make a hole in the centre to receive the cutting (one cutting per pot). Our potting soil contains mycorrhizal fungi that help roses develop a better root system and increase their tolerance to drought.
STEP 6: Dip the bottom of the stem into a plant root stimulator. It will promote root development in your new roses.
STEP 7: Carefully insert the stem into the hole, then lightly pack the potting soil around it.
STEP 8: Water thoroughly.
STEP 9: Place a stake in the pot and cover it with film or a clear plastic bag to create a mini greenhouse that will help retain moisture.
Do not tighten the bag around the pot to allow moisture to escape. To reduce the risk of fungal diseases, the plastic should not touch the leaves either.
STEP 10: Place your cuttings under a grow light or near a bright window (but out of direct sunlight).
TIP: Ultra handy for seed starting, heating mats also help speed up the rooting of cuttings.
STEP 11: Water regularly. The soil should remain constantly moist (but not soaked) until roots form, which takes about two weeks. The plastic bag can then be removed.
PRO TIP: You can check if your new plant has roots by gently pulling on the stem. The slightest resistance will indicate that it has taken root!
When is it best to transplant cuttings?
When the roots are well established and new shoots appear along the stem, your rose is ready to be transplanted into a new pot. You can also plant it in the ground in the garden once acclimatized. Read our article to learn how to acclimatize plants: How to acclimate your plants and seedlings
You can use the same technique to propagate a hibiscus. To propagate a hydrangea, the steps are slightly different. You can find all the details here: How to propagate hydrangea


