Every garden tells a story over the months and years. Perhaps the best way to tell it is through images. Whether you want to share your photos on social media or keep them for yourself, create a slideshow, or print them in a large format, you don't need to be a professional to capture beautiful images.
With a few basic tips, you can refine your techniques and brilliantly reproduce nature's spectacular work.
12 tips for professional-looking photos
1. Use the manual mode
In automatic mode, the photos are always good, but rarely spectacular. This offers too few options. Once you’ve learned to use your camera in manual mode, you rarely go back to automatic mode!
2. Try various lenses (if possible)
The lens often sold with the camera offers a certain versatility for beginners without, however, allowing them to truly explore. If you're passionate about photography, you'll quickly want to try other lenses. Since they're expensive, it's best to take the time to choose them based on your needs.
How to choose a camera lens?
It all depends on what you want to photograph. Prices will vary depending on the quality of the lens and the performance it can offer (larger aperture, allows you to shoot closer or further away, allows you to increase the ISO without losing precision, etc.).
The 12 mm - 35 mm wide angle lens
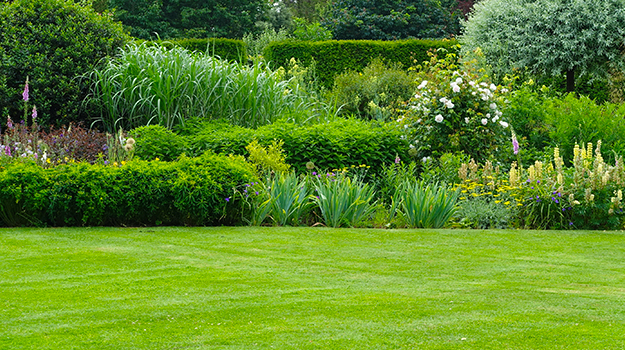
It is perfect for landscapes and shots featuring large flower beds, clumps of trees and shrubs, etc.
The 35 mm - 70 mm lens
This is the all-purpose zoom lens. It's suitable for portraits, street photography, family photos, travel photography, and more. It's the one to bring if you need to travel light. It allows you to shoot from a short or long distance, without being as powerful as a telephoto lens or macro lens.
The 50 mm fixed lens
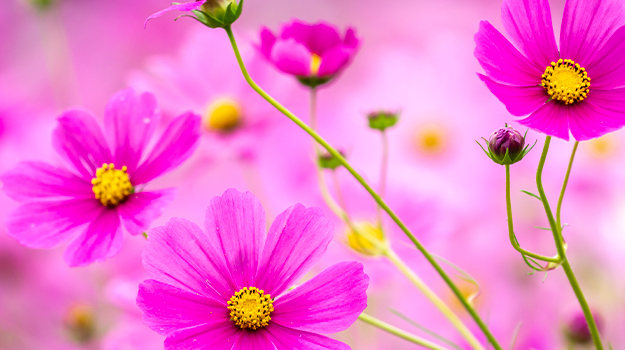
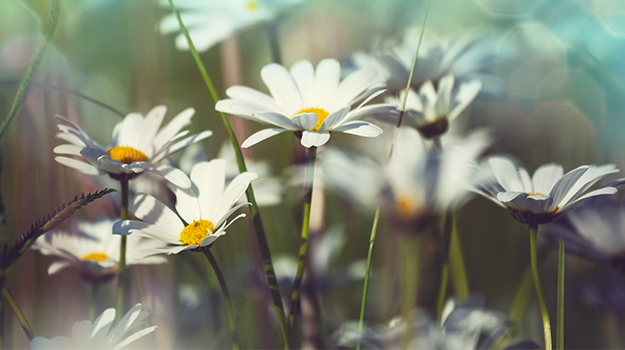
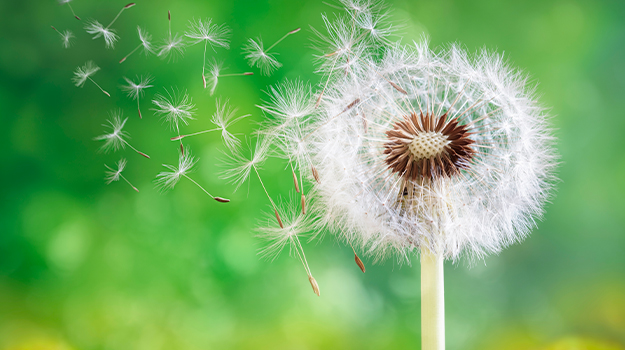
It creates little distortion and faithfully represents the image perceived by the human eye. It often allows for a large aperture (the smaller the number, the larger the aperture) and is useful if you want to create images with a very shallow depth of field (a sharp subject against a blurred background). It also allows for the much-desired bokeh effect in the background.
You will need to move to the desired distance from your subject since its focal length is fixed (no zoom possible).
The macro lens
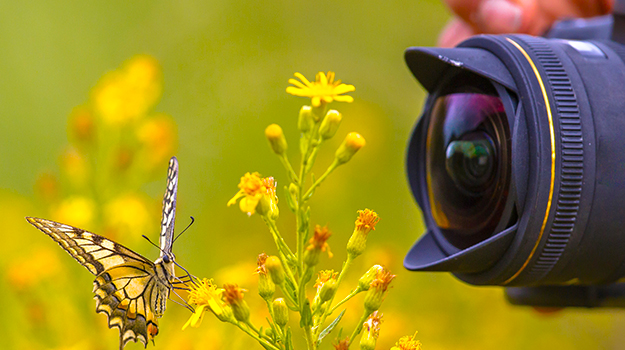
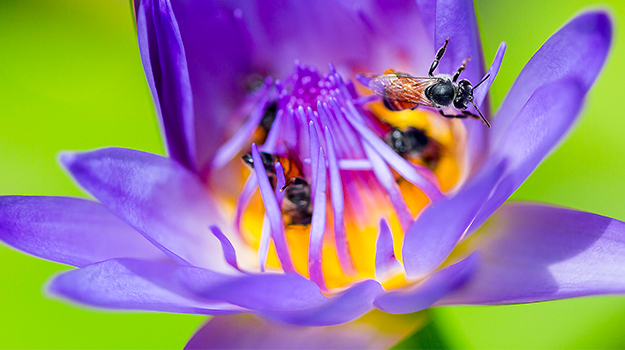
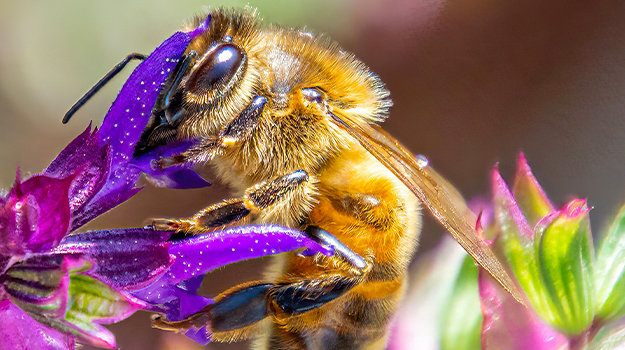
The macro lens is designed for capturing close-up shots of small objects. It's ideal for photographing insects or flowers, but focusing becomes a challenge in the slightest breeze. Take several shots to choose the best one. Using a tripod can help you get sharp images if the subject is still but you tend to move (even very slightly).
3. Be careful with focus
Before taking your photo, make sure your camera is focused on the subject or area you want to showcase. With an autofocus lens, you can do this by framing it with the green square appearing in the viewfinder, then pressing the shutter button halfway. This locks the focus. You can then reframe as desired. Note that an off-centre subject in the image is sometimes more interesting!
Manual focusing can be trickier. Take a few shots! Some will be sharper than others. As mentioned earlier, fixed lenses are more demanding. With patience, you'll either love them... or hate them.
4. Prefer natural light
The flash should be used as a last resort. Play with the ISO (the higher the number, the less light you need), but experiment. Older or less expensive cameras may not be able to achieve good results with an ISO above 400 (play with the speed and use a tripod if necessary).
The best times to take pictures on sunny days are dawn (even better if there is fog or dew) and late afternoon or early evening (from 4 p.m. in summer… this is the famous golden hour which can hardly be recreated artificially, even using a computer!).
Since the sun is lower, you can achieve some beautiful effects. Here are some ideas…
- Let the sun backlight a plant or flower bed.
- Capture the sunlight through the branches of the trees to obtain striking contrasts.
- Immortalize the image of flower beds or grasses under diffused light.
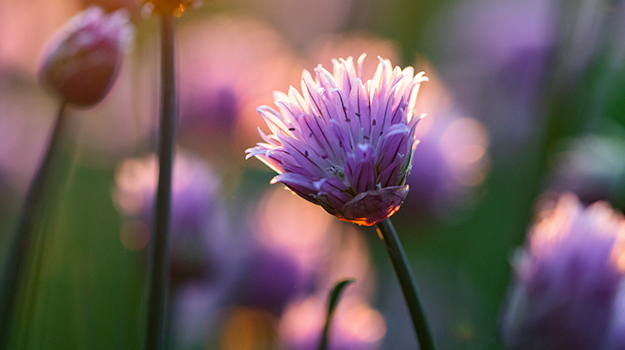
- Capture a flower while the sun, hidden behind it, traces its delicate contours with golden lines.
- Capture the dramatic effect of the sun on a unique plant in a bed, leaving the others in the shadows.
5. Consider the weather
For brightness obviously, but also for the wind, cloud cover, etc.
A close-up shot is difficult to achieve in windy conditions, even when the camera is calibrated for a fast shutter speed. On the other hand, swaying grasses in the distance are more interesting because they add movement to the image.
A cloudy sky makes the photographer's job easier. However, beware of sudden bursts of sunlight that can disrupt your calibration.
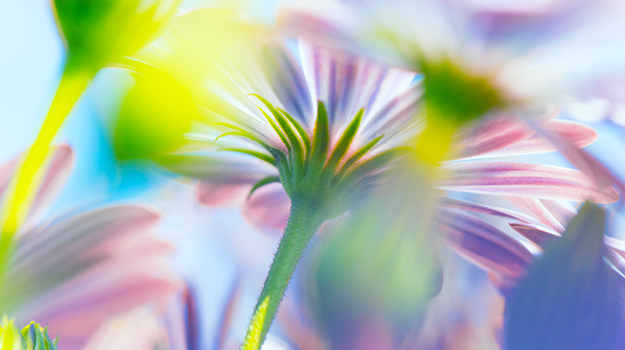
A cloudless and perfectly blue sky offers great opportunities! Try shooting from a low angle by positioning the camera below the flower and using only the sky as a background. (Note that a dull, uniform sky will generally make a poor background.)
Large white clouds in a blue sky will add dimension when photographing a garden as a whole.
And of course, avoid exposing your camera to the elements!
The best times to go out with your camera
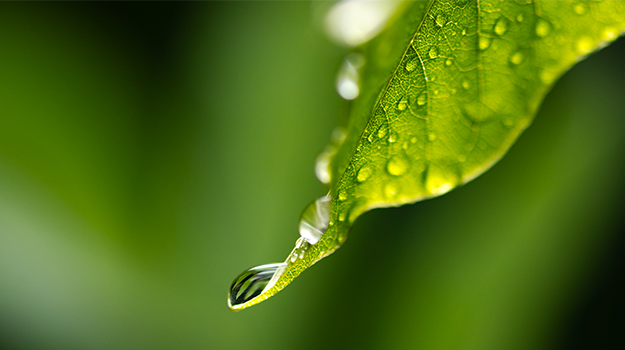
- After the rain... water drops like dewdrops take on the colour of their environment, capture the light and add magic.
- In the morning, early enough to take advantage of the dew and fog, or at least before the light becomes harsh (around 9 a.m. – 10 a.m.).
- At the end of the day when the garden takes on a golden hue (usually between 4 p.m. and 7 p.m. in summer).
6. Decide in advance what you want to feature
Of course, a shot taken on the fly can be stunning, but working in manual mode leaves less room for spontaneity. If you're undecided or need to act quickly, temporarily switch back to automatic mode.
By choosing the aperture, you decide what you want to emphasize.
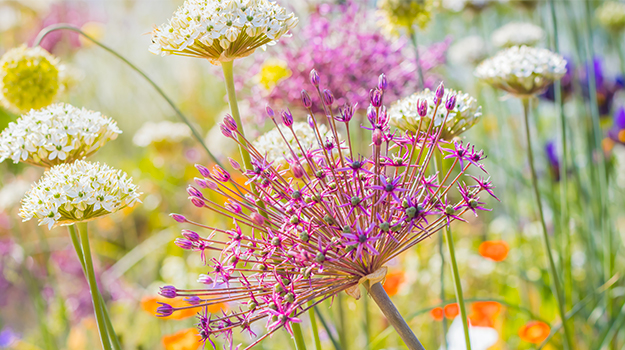
A wide aperture of f/2.8 to f/4 (depending on the distance between the various elements in the composition) will allow you to focus on a specific subject while blurring the rest of the image. This is an excellent option for close-ups or to make a specific element stand out.
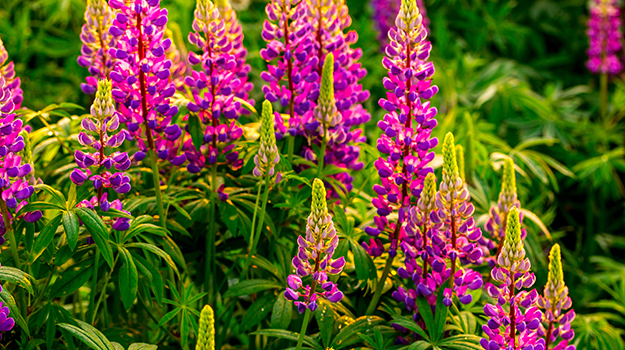
A low aperture of f/8 to f/11 is perfect for photographing a garden in all its grandeur. The different plans will stand out less from each other, but the flowers at the back of the flower bed will be almost as clear as those at the front.
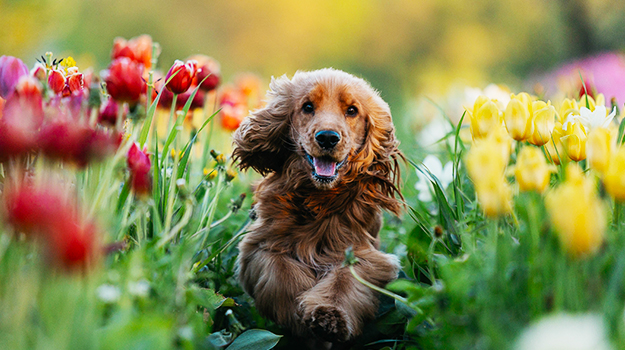
A medium aperture like f/5.6 or f/6.3 is perfect if you want to photograph a specific element but also want to clearly see what's in the background. Choose these apertures if the main element stands out from what's around it (a park bench in a garden, a dog lying in the grass, etc.). This is an excellent choice for photographing your family in the garden! For photographing faces, an aperture of f/2.8 to f/4 will give better results.
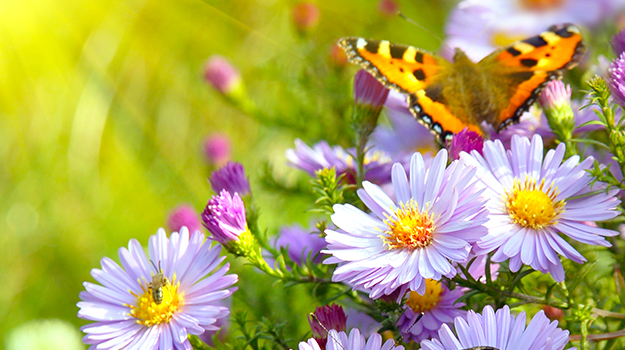
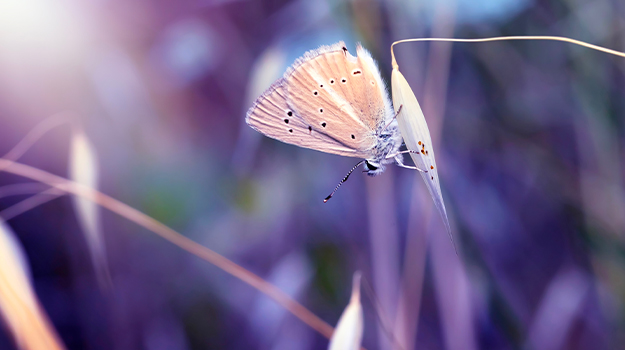
Don't forget to calibrate the speed according to your choice, or your photo will be underexposed or overexposed. If your subject is moving (like a butterfly), you can choose to prioritize the speed so the insect doesn’t look blurred in the image!
7. Overexposed or underexposed?
Even if your camera tells you that your setting will produce a perfectly exposed image, you don't have to use it.
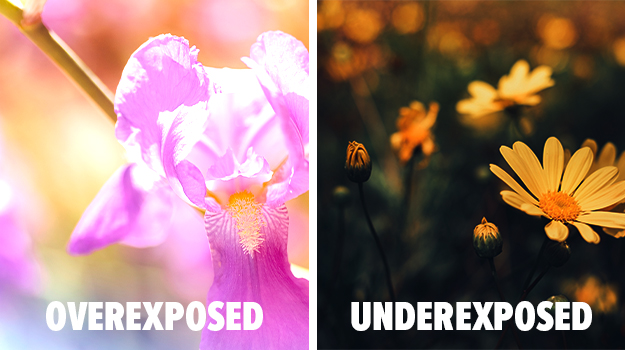
In some cases, a well-calibrated image will not produce the desired effect. A slightly overexposed image makes the flowers appear wonderfully bright, while an underexposed image taken just before a storm can create a stunning dramatic effect.
8. Take several shots!
Don't delete a photo that you're not happy with at first glance. Once you import it into an image editing software, you might be surprised by the results!
9. Pay attention to the small details that spoil the image
An electrical wire, laundry drying on the line, sandals lying on the lawn... Take the time to do a quick clean-up, or reframe to remove any element that might spoil your image.
On the other hand, you could also consider preserving these items. Sandals left on the lawn tell a story... that of a beautiful summer day spent relaxing!
10. Create a unique composition
A cluster of orange tulips with shrubs in the background makes for an ordinary image. Adjust your position, zoom in on one of the prettiest, and make sure you give them a blurred and contrasting background (dark purple sage flowers), and you've just created a remarkable image from the same subject.
Don't hesitate to shoot from a low angle, lie down in the grass to create an unusual composition, or include a flower that’s close to you to add dimension.
11. Pay attention to the main lines
Literally! If you're photographing the horizon, make sure it's straight in your photo. The same goes if your composition includes a building, a fence or a bench. Make sure the vertical and horizontal lines are parallel with the screen... unless you want to create an effect. If so, make sure it's unmistakable to the person viewing the photograph. Accentuate the angle by turning your camera further.
12. Capture a specific moment
Make sure that whatever is in your image expresses a unique moment. A bumblebee sleeping in a flower, a spider watching you with its funny eyes, a drop of water stretching and preparing to fall from a petal.
Be attentive and let your surroundings inspire you! You can choose a subject, but it's often the magic of the moment that gives rise to stunning images. Experiment, and above all, have fun!

