- For plants that will be actively growing inside
- Best way to acclimate before moving in
- Get rid of bugs
- Provide light and humidity to your plants
- Cut back on fertilizer and water
- How about doing cuttings of your favourite plants
- Prepare your plants for spring
- For fall plants that require a dormancy period indoors
- How to preserve geraniums for next year
- The plants that stay outside
If you are considering bringing plants indoors after a summer spent basking outdoors, you’ll need to do a few things before moving them inside for the winter.
There are two types of plants that can be saved indoors for the winter: ones that can continue to grow actively, and other plants, tubers and bulbs that need a dormancy period.
In both cases, you are protecting and saving them from a sure death outdoors, and they will be returned outside next spring for another season.
For plants that will be actively growing inside
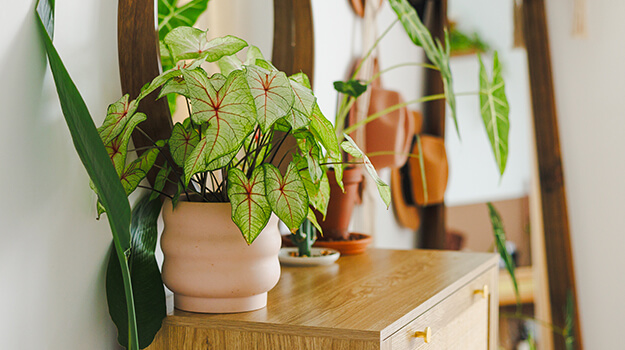
Many of your outdoor annuals, herbs and tropical plants will keep growing throughout the winter and some may even bloom a bit for you once settled indoors. But don’t just bring them in the house and that’s it. You’ll need to acclimate them and de-bug them. This is not a big deal and it’s worth the effort. No matter what, you need to move them inside before nighttime temperatures start dipping to 10 °C.
To find out which plants to bring in, read: Annual flowers | PRO-MIX Gardening (promixgardening.com)
Best way to acclimate before moving in
Although some plants can take sudden changes in light and temperature, many will simply go into shock, and wither and drop leaves. Who needs that? So, break in the plants first.
- A few weeks before cooler weather, start by moving desired plants that are in full sun into a shady area (under a tree or covered porch) and keep them watered. This will get them used to the lower sunlight in a house.
- You can fully acclimate them afterwards, by bringing them indoors, at first overnight, returning them outdoors during the day and gradually increasing the time indoors.
- Give them a full-sun west or south-facing window, or provide a grow light if that isn’t possible.
Get rid of bugs
Perform these tasks while the plants are still outdoors.
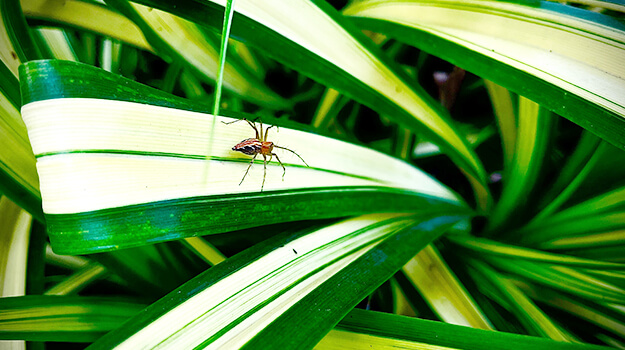
You can’t help it: bugs might already be settled in comfortably on your plants. Some common tiny bugs that hitchhike in are aphids, scales, mealybugs, whiteflies, spider mites, etc. Without natural predators found outside to control them, these insects would thrive in the warmth of your house.
How to proceed
- Give your plants a close inspection. Many of these bugs are very small and could evade a quick going-over. Use a magnifying glass and a flashlight. The last thing you want to do is bring pests inside that could spread to your houseplants. Even earwigs, ants and cockroaches may come in nestled under the pot, ridges and drainage holes.
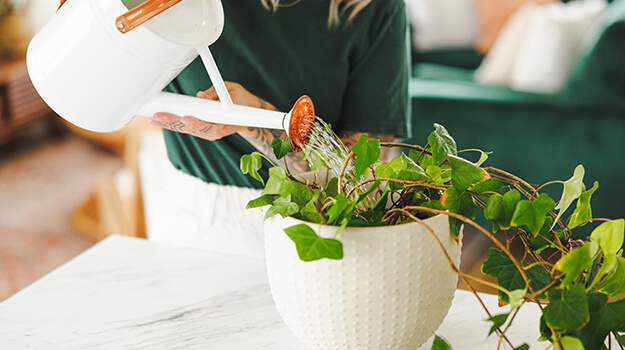
- Hose the entire plant and pot down with a garden hose from every angle, making sure to get under the leaves and pot. For tender plants, use a watering can with lukewarm water instead of a hose. This gets rid of not only many of the bugs, but also dirt, cobwebs and pollen.
- Let it dry.
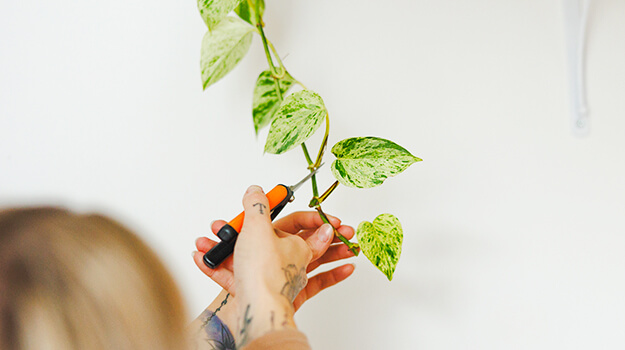
- This is a good time to prune a bit to take out dying leaves, or to downsize the plant a bit.
- For a final de-bugging, spray every bit of the plant with Wilson Bug-X OUT Insecticidal Soap. Follow directions on the label.
Now you are ready to start bringing them indoors. If you find that a desired plant is just too infested or diseased, you may simply choose to throw it out instead of bringing it inside. Why take a chance on a plant that will probably die anyway and infect another houseplant?
To learn more about using insecticidal soap, read: How to Use Insecticidal Soap | PRO-MIX Gardening (promixgardening.com)
Provide light and humidity to your plants
Don’t worry about a little leaf drop that may occur as the plants adjust to interior conditions: your plants will recover.
The winter daylight hours are considerably shorter, and you may need to offer a west or south window or grow lights to keep them healthy. It doesn’t hurt to clean the windows before winter to allow maximum daylight. You’d be surprised how much a light film of dust can limit real sunlight from coming in.
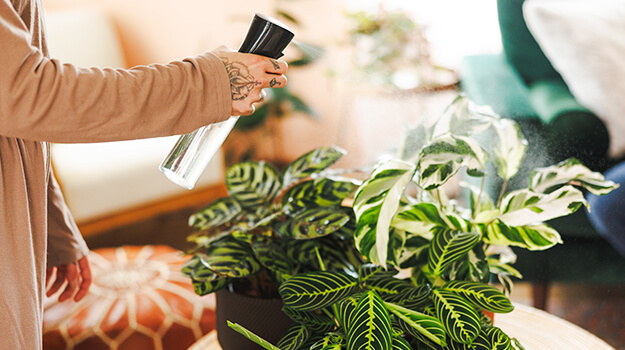
Given that most homes during winter are dry and warm, your plants will appreciate a little humidity in the form of misting, or a pebble tray with water under the pot, or even the use of a humidifier. Consider placing them in rooms with more moisture, such as bathrooms.
For more information and to know the best tips, read: Survival guide for tropical plants | PRO-MIX Gardening (promixgardening.com)
Cut back on fertilizer and water
Think of winter as a rest period for all of your indoor plants. Water only when the top 2.5 cm (1 inch) of potting soil is dry. Increase the watering later when the daylight hours become longer.
You really do not need to feed them much with a fertilizer until the days get longer later in the winter, more towards springtime. If you wish to give them a little extra, you could apply a very diluted soluble or liquid plant food once a month.
How about doing cuttings of your favourite plants
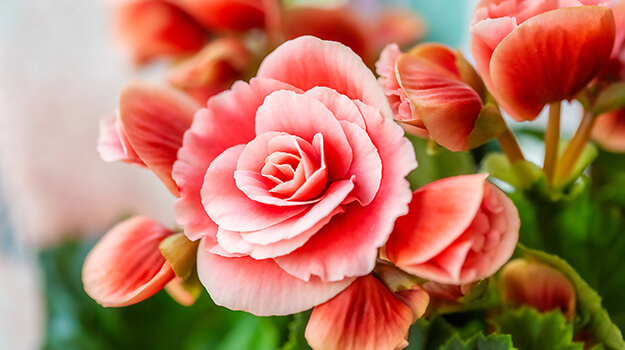
Some plants can be saved by propagating cuttings and developing new “mini-me” plants that will be clones of the plant you want to save. The most common plants include geraniums, begonias, impatiens, iresines and coleus.
How to proceed
- Choose healthy shoots and cut them about 5-10 cm (2-4 inches) below a leaf node and remove any leaves below that.
- Place the cutting in a moist vermiculite or starter potting mix, inserting at least one leaf node below the surface. Roots will grow from that node. If you wish better chance of success, dip it first in a cutting dip, such as PRO-MIX Roots Liquid Root Stimulator. Insert the cuttings into the growing medium far enough to stand on their own.
- Water the container after all the cuttings are inserted. Allow the medium to drain for a few minutes.
- Place a clear plastic bag or dome over the cuttings to prevent the plant foliage from wilting.
- Move the container to a bright window with indirect light.
It may take 1-4 weeks to develop new roots, depending on the type of plant. Once established, you can re-pot them.
Find out here how to take cuttings from different types of plants: How To Grow Plants From Cuttings | PRO-MIX Gardening (promixgardening.com)
Prepare your plants for spring
In the spring, all of your indoor visitors and cuttings will start to push up new growth. This is a good time to repot them with fresh potting mix in a slightly bigger container.
When spring comes, you’ll need to reverse the process that you did for bringing the plants indoors: let them spend a week or more in a shaded spot protected from the wind before exposing them to the full elements again.
For fall plants that require a dormancy period indoors
There are bulbs and tubers that need a dormant time in storage in a cool place (above freezing). These aren’t actively growing at all, rather they are dried and stored in the dark until spring.
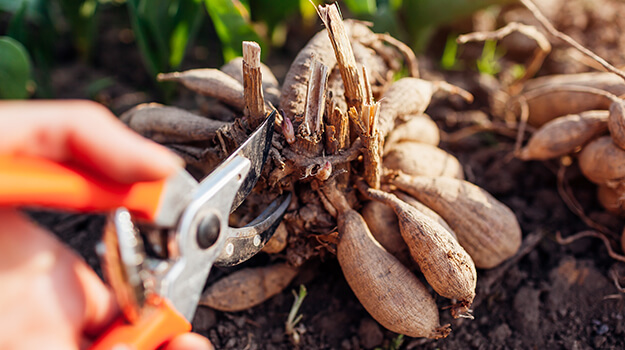
If the bulbs and tubers are in pots, discontinue watering them, cut off the dying foliage and store them in a cool, dark location.
If in the garden, dig them up, cut the foliage back and remove any topsoil from them. Now let them dry for 1-2 weeks to remove any moisture. Once dry, place them in a cardboard box or open container with dry peat moss or shredded newspaper to prevent them from touching one another. Store the open container in a cool, dark spot. Keep them out of any light and don’t let them freeze!
They will reward you next spring if you can manage this.
To learn how to start bulbs and tubers indoors, read our article: Summer bulbs: how to grow them indoors | PRO-MIX Gardening (promixgardening.com)
In the spring, plant them in pots about a month before the last frost to give them a head start. Otherwise, plant them out in the soil once the good weather arrives.
How to preserve geraniums for next year
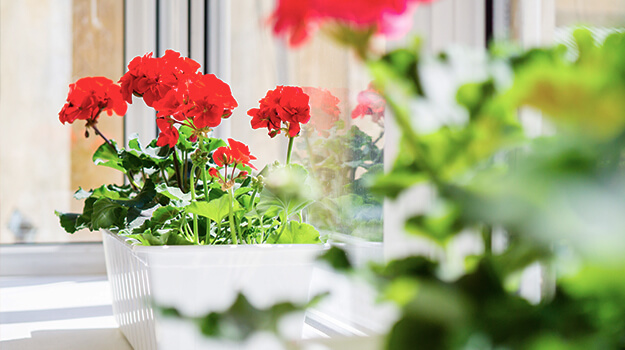
Geraniums can be kept growing all winter long, or you may consider letting them go dormant.
If you choose to let them continue to grow actively, they are likely to become tall and lanky by late winter. Prune your potted geraniums in March, removing one-half to two-thirds of each plant. They will begin to grow again within a few days and should develop into attractive plants by May.
Another option for geraniums is to take them out of their pots and hang them upside down, in a dark, cool spot, with their roots bare. Spray them with water occasionally to keep them from drying up. This is a bit trickier, since it involves that you remember to mist them every so often. In the spring, you can rehydrate the roots by soaking them in water and then re-pot.
The plants that stay outside
Some annual plants should be left outside. For example, annuals such as marigold, petunia, zinnia, nicotiana, verbena, etc. are not contenders for indoor growing. Once they bloom and set seed, these plants are predestined to die.

