In recent years, we have seen pumpkin carving techniques taken to a whole new level. With designs inspired by the Martha Stewarts of this world, we have almost come to believe that these breathtaking creations are within everyone's reach.
In fact, with patience, the right tools and a little knowledge, the results could surprise you!
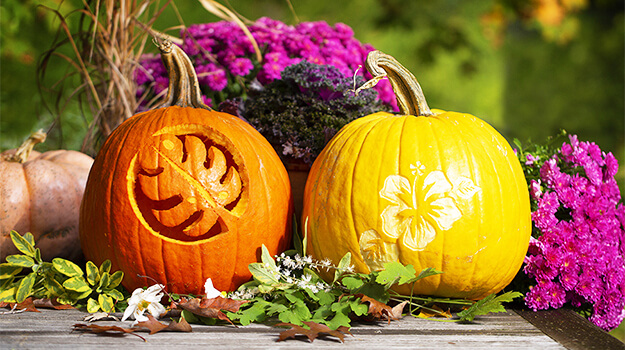
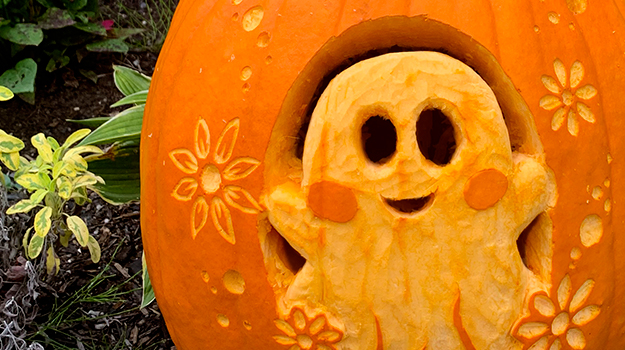
Going beyond the traditional carved pumpkin, you can create masterpieces with stencils and paint, lace doilies and spray paint, or even by giving them beautiful effects with etching.
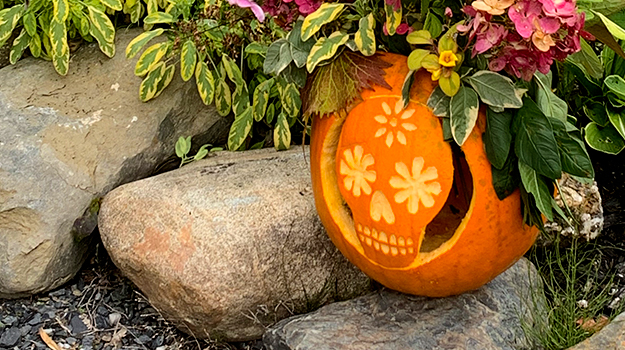
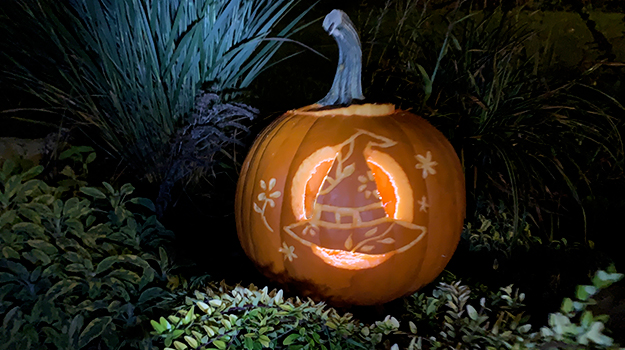
This last technique consists of removing the orange skin in the sections to be designed to reveal the flesh. By varying the depth of the etching, any lighting placed inside the pumpkin will give a different intensity to the image. The deeper the etching, the brighter this part will be. Combining techniques also allows for spectacular effects.
You can also decorate with squash to add colour to your decor!
Want to get started? On your pumpkin, ready, carve!
Tools needed to carve pumpkins
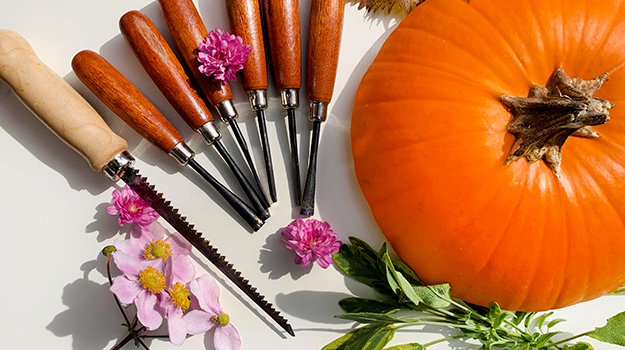
Our concepts can be made with specific pumpkin carving kits or even with different knives for carving. Make sure an adult supervises handling of these sharp objects.
- Miniature saw or drywall saw
- Sculpting knife or linoleum knife
- Fleshing tool or a large spoon
- Punch or large needle
- T-pins
- Drill and auger bits (if needed)
- Vaseline
- Adhesive tape
Carve a pumpkin in a few easy steps
Step 1 – Prepare the pumpkin
Place the pumpkin on its side, on a flat, stable work surface. Use a drywall saw to cut out a circle at the base or top of the pumpkin. The tool's sharp teeth can slice through the hard shell of a pumpkin while its flexible blade allows for curved cuts. Reserve the cut.
Tip: If you are lighting your pumpkin with electric twinkle lights or electric lamps, make the hole at the base. This will make it easier to hide the wire. If you plan to light with a candle, cut the top of the pumpkin so that the flame has an air supply. Place the candle in a high-rimmed glass, and never leave it unattended.
Step 2 – Empty out the pumpkin
With the fleshing tool or large spoon, remove the seeds and stringy pulp inside the pumpkin. A smooth, clean interior will reflect light better. Thin the sides of the pumpkin to a thickness of 1/2 to 3/4 inch.
Sculpting tools make it easy to scrape away the flesh to allow light to partially pierce the wall. The intensity of the lighting will vary depending on the thickness.
Step 3 – Duplicate the image
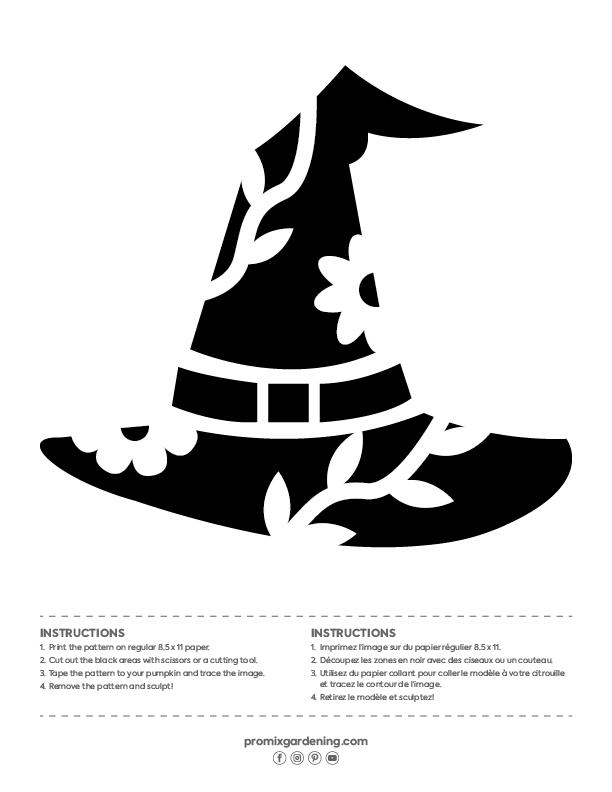
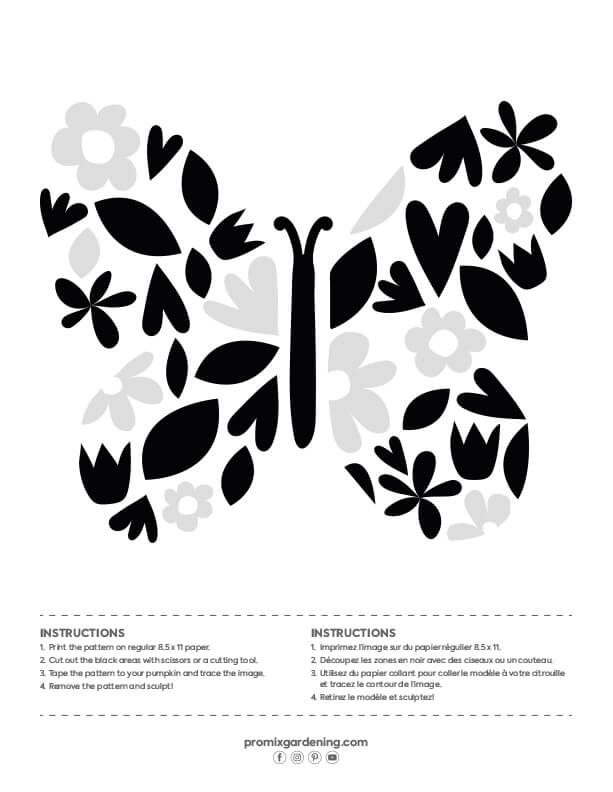
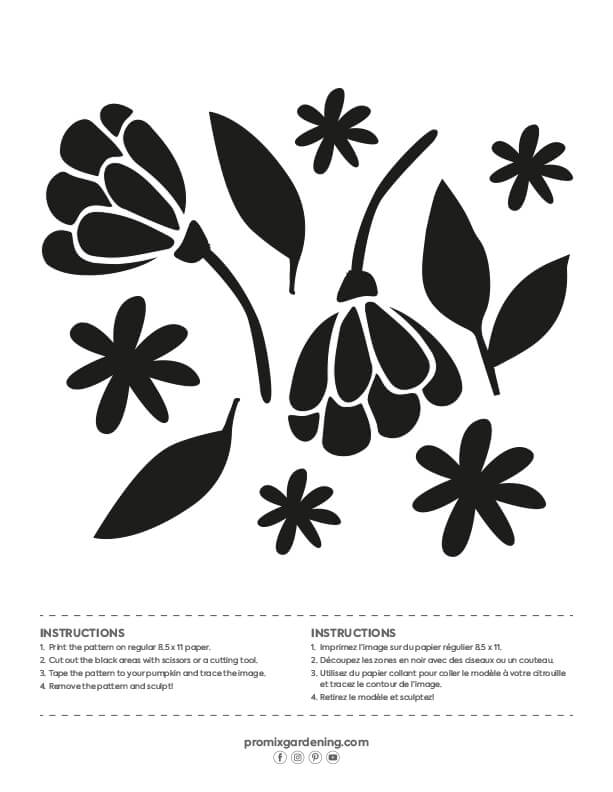
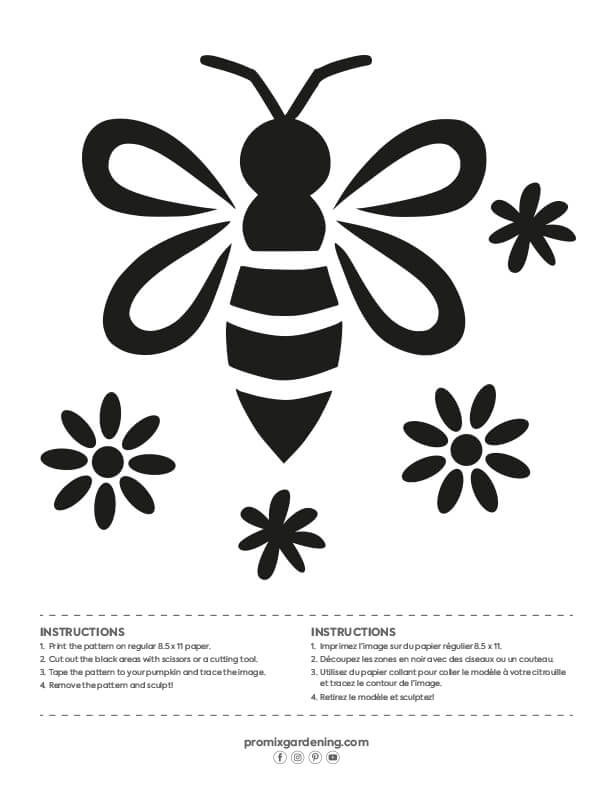
- Choose your model at the bottom of the article. Right-click on the chosen image, then select “Save image as”. Once saved, right-click again and select “Print”.
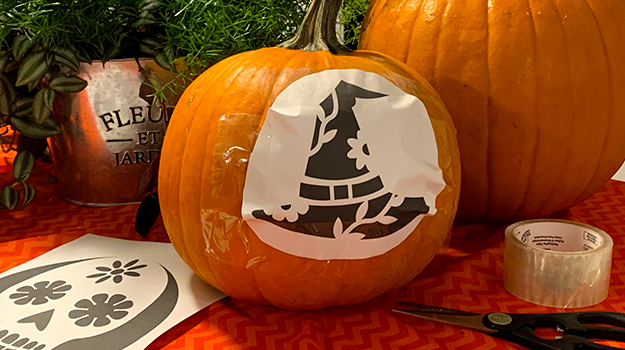
- Glue the printed template to your pumpkin with masking tape. (If necessary, cut slits around the template and overlap them so the sheet fits the roundness of the pumpkin.)
- Using a punch or large needle, prick the skin of the pumpkin every 1/8 to 1/4 inch, so as to reproduce the outline of the pattern.
- Remove the template but keep it nearby for reference.
Find other models in the following article: Our exclusive designs to carve the most beautiful pumpkin! | Wilson (wilsoncontrol.com)
Step 4 – Carve the pumpkin
- For cuts that go through the pumpkin wall, use the miniature saw or the drywall saw.
- To carve or remove the pumpkin skin, use a linoleum knife or carving knives. (These knives offer different tips to easily achieve great effects!) Vary the depth of the etching (the thickness of flesh removed) to obtain different degrees of opacity once the pumpkin is illuminated.
- To make symmetrical holes effortlessly, use a drill equipped with a 1/2 inch or 3/4 inch auger bit.
Start with the outline of the pattern and work inward. When removing skin from a large area, always etch in the same direction to ensure uniformity.
Apply petroleum jelly to the exposed flesh of the pumpkin to prevent browning.
Step 5 – Add lighting
To light a carved pumpkin, string lights are generally preferable to candles (and safer!). For a small or medium-sized pumpkin, wrap a string of 25 small bulbs around a glass jar and secure with tape. Use a string of 50 lights for a large pumpkin.
Make sure light sources do not touch the interior surface of the pumpkin, and to avoid the risk of fire, unplug them before leaving the house. You can return the cutout to the base of the pumpkin. Use T-pins to hold it in place.
If you use a candle, place it in a glass. Poke a hole to allow air to enter the back of the pumpkin if you want to replace the top cutout. Battery-operated candles are another great option.
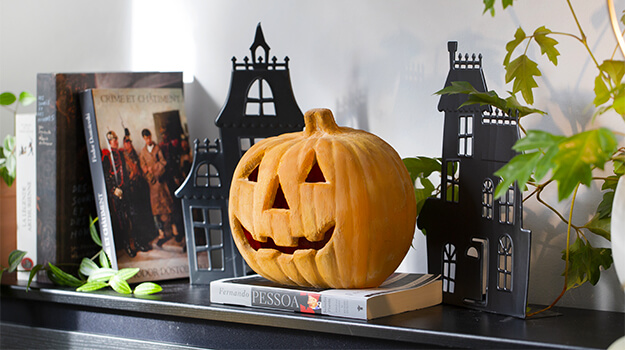
Once your pumpkin is illuminated, the designs appear in different light intensities, ranging from a bright yellow in the fully cut areas to a variety of shades, light or opaque, in the etched areas.
You can still make small adjustments if necessary. Simply scrape the inside or outside of the pumpkin to thin the flesh where you want to change the intensity of the lighting.
Click here to download and print.

