By Albert Mondor, horticulturist and biologist
So they grow vigorously and produce an abundance of blooms, planting annual flowering plants must be done with rigour and meticulousness. Here are a few tips for your planters and other potted flower arrangements.
What's the best time to plant?
The best time to plant most annual plants of tropical origin corresponds to the moment when all danger of frost has passed in a given region. In Montreal, Ottawa and several other zone-5 municipalities, this usually occurs around the 20th of May. In Quebec City and some other zone-4 regions, gardeners must generally wait until the end of May or beginning of June to plant annuals. In more northern regions, it is preferable to wait until mid-June before planting annuals.
Although being tempted to buy the annual plants with the most blooms is natural, it is recommended to choose those that don't have any, but that bear lots of buds. It is also better to avoid the plants that seem stretched and go with those that are short and compact, as they will establish more easily after planting.
What type of soil to use?
As the space in containers is somewhat limited, it is essential to use a light but rich mix that has a great water retention capacity, such as a potting soil. In addition to containing a natural slow release fertilizer, that product also offers the MYCOACTIVE technology, a natural growth stimulating agent.
Before planting annuals, it is very important to water the roots. If the root ball is very dry, let it soak in a tray containing a little water for a few minutes.
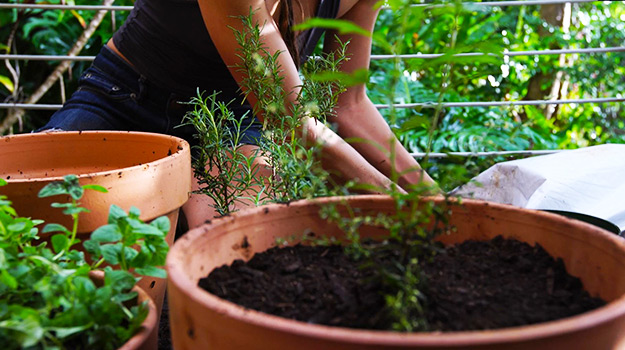
Here is the technique, step by step, to plant annual flowers in containers.
Step 1
I highly recommend not to line the bottom of the container with pebbles or rocks; your plants need soil. Drill a few holes so the excess water can escape easily. You need at least one 1.5-cm hole every 30 cm.
Step 2
To improve drainage and prevent the soil from blocking the hole, cover it with a pot shard or small flat stone.
Step 3
After you've covered the drainage hole, fill 2/3 of the container with moist soil. Compress it lightly on the sides.
Step 4
When taking the plants out of their containers, if the root ball is too massive and compact, remove a few roots here and there with sharp pruners. This will encourage the development of new healthy roots.
Step 5
Each plant must be placed so its collar (where the stem meets the roots) is level with the surface of the soil. Add soil around the plants and, with the tip of your fingers, compress it lightly. The surface of the soil must be about 2 to 3 cm from the rim so the irrigation water stays in the container. Once all plants have been planted, water slowly two or three times.
Step 6
Finally, prune stretched plants by half, even if there are blooms. This will promote the formation of new growth and flowers. Bevel stems a few millimetres above a leaf or small lateral stem.
Step 7
Irrigate the soil thoroughly until the water comes out the drainage holes. Water again a few minutes later.
