- How to make DIY terracotta pumpkins?
- What is the best paint for painting ceramic?
- Easy image transfer flower pot
- How do you do an image transfer with transfer paper?
- How to use gel medium for image transfer?
- How to make a pumpkin planter for your candies?
Discover 3 ways to give your pots and planters style and make them the stars of the season. Download and print our images to easily create pots worthy of your favourite home decor stores.
How to make DIY terracotta pumpkins?
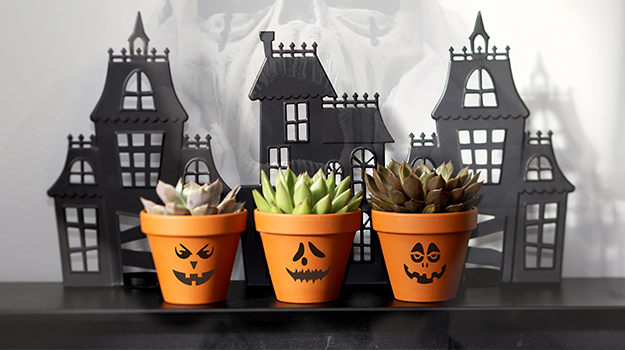
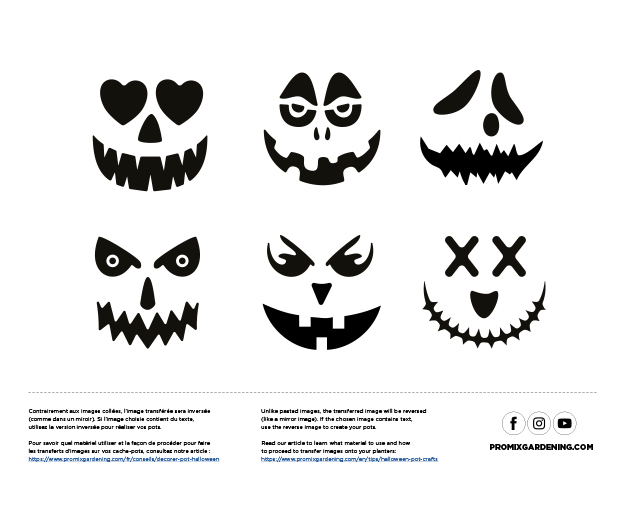
With their orange color, terracotta pots are easy to transform into pumpkins by painting them with eyes and a triangular nose, as well as a big smile. Vary the expressions for a unique effect. Once your plants are inserted into these original planters, they will transform into funny hairstyles!
Multiply the pots and vary the sizes to decorate your home. Want to simplify your life? Use our downloadable templates! Print them to the desired size to better fit your pots or draw them freehand. Permanent markers can be used to draw on ceramic.
TIP: If you only decorate one side of your pots, after October 31, simply turn them face against the wall. This way, you won't have to find a place to store them until the following Halloween season. Better yet, you can decorate the other side!
What is the best paint for painting ceramic?
Porcelain and ceramic paints are ideal for painting terracotta or earthenware. Choose between opaque and high-gloss colours!
Use an ultra-matte or high-gloss varnish over the entire planter to protect it and make it last. Products are available in craft stores to create beautiful, crackled effects that instantly add style.
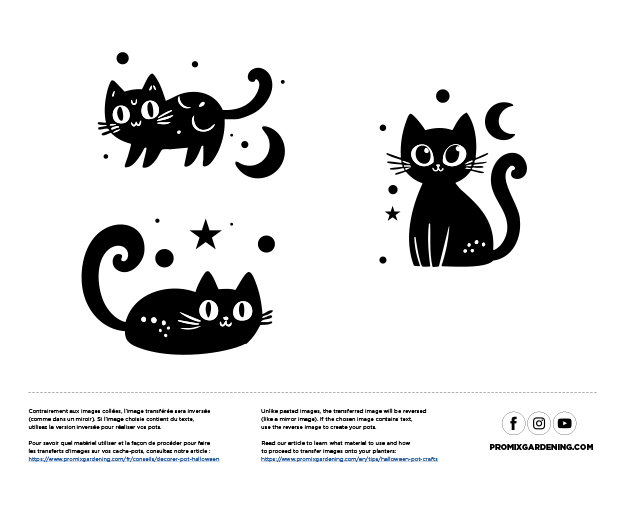
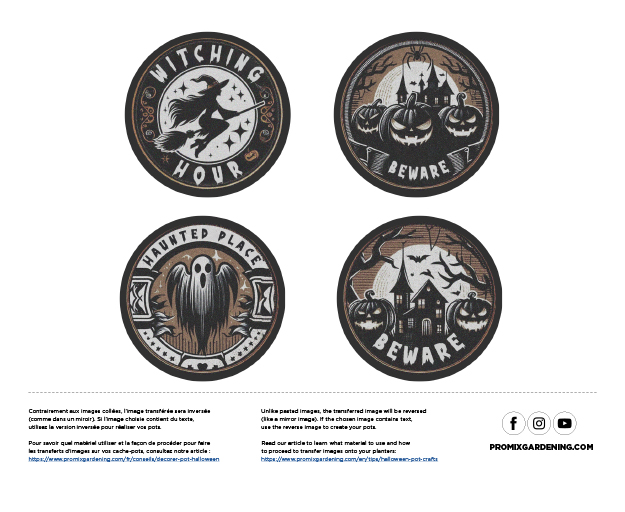
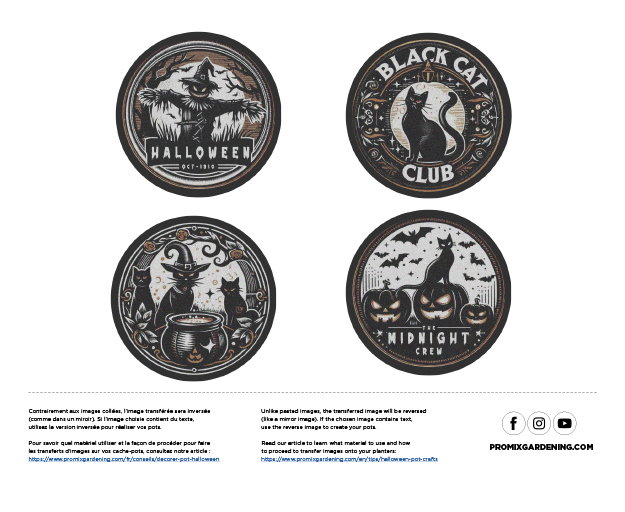
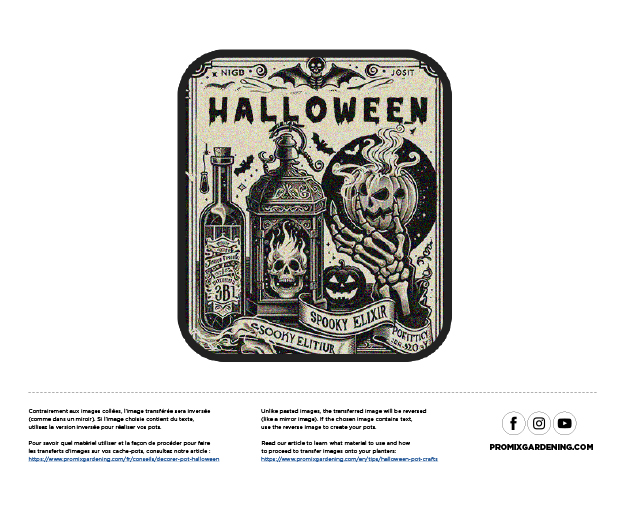
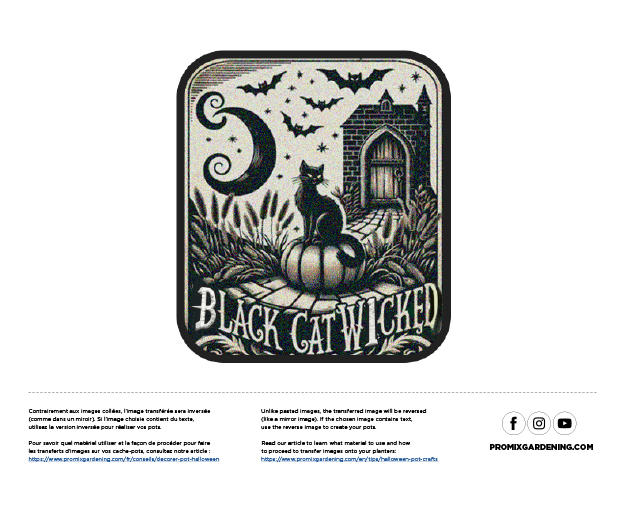
Discover pretty patterns to transfer onto your planters here. Note that Sharpie-style markers make it easier to trace small details.
Easy image transfer flower pot
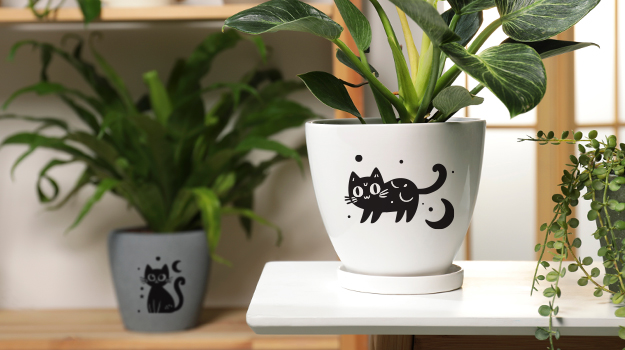
You can create beautiful, professional-looking planters by using image transfer. Since you can make several transfers with limited supplies, take advantage of this opportunity to create beautiful series of containers for your plants.
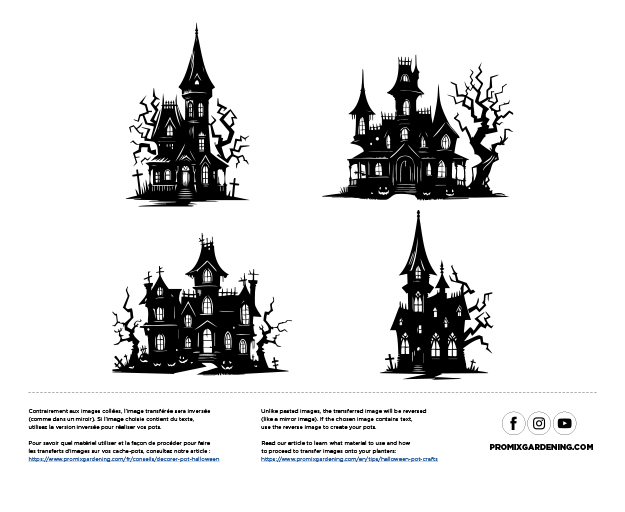
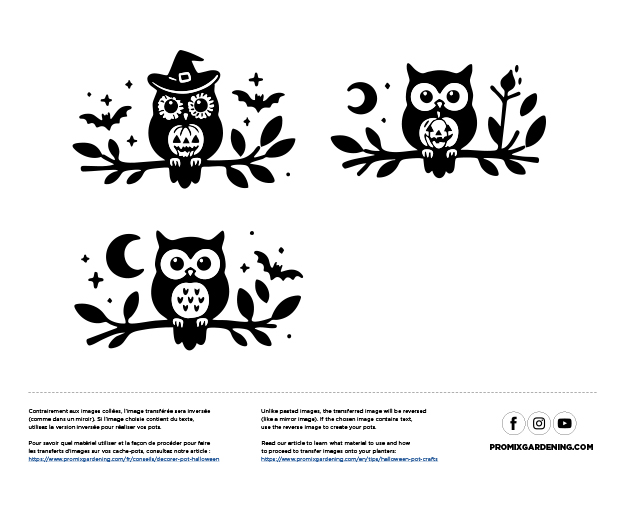
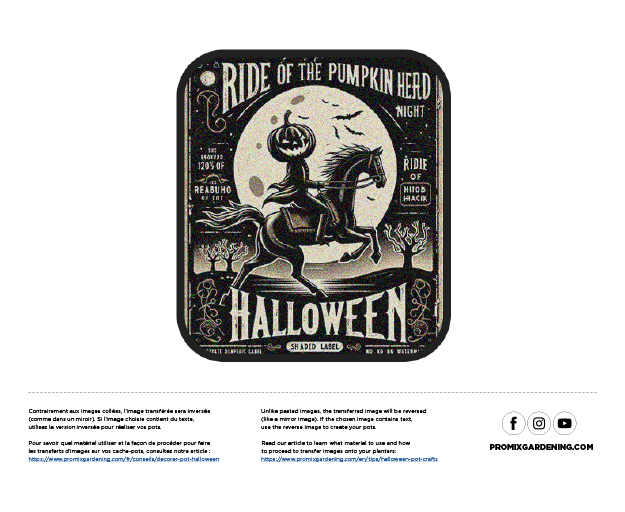
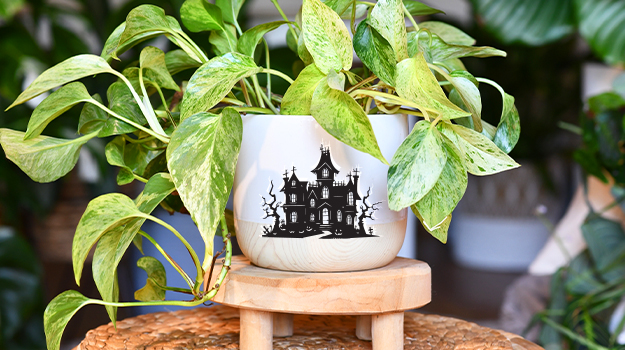
Our downloadable and printable images offer you beautiful options (vintage images, vignettes and badges, haunted villages, owls, etc.). Transfer them onto terracotta pots or pots with faded colours, antique finishes, etc.
Transferring images is easy and simple. We suggest two different options: with transfer paper or using a gel transfer medium.
How do you do an image transfer with transfer paper?
The first option is to purchase inkjet-compatible transfer paper on which you can print the image of your choice and then transfer it to your planters. The second option is to use an image transfer medium (Mod Podge offers a product specifically for this purpose) by printing on paper or photocopying.
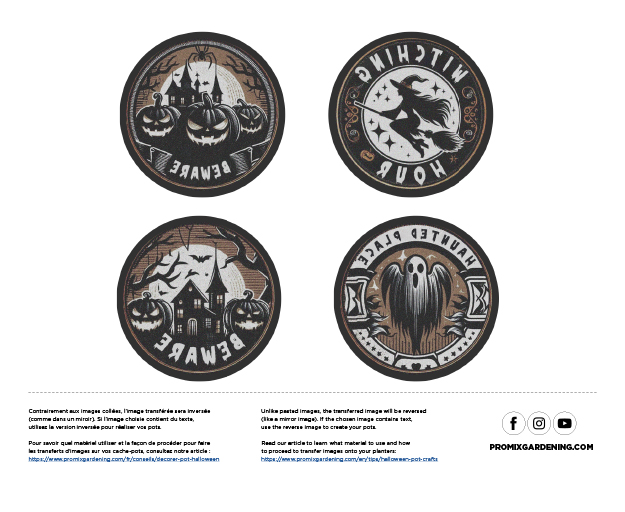
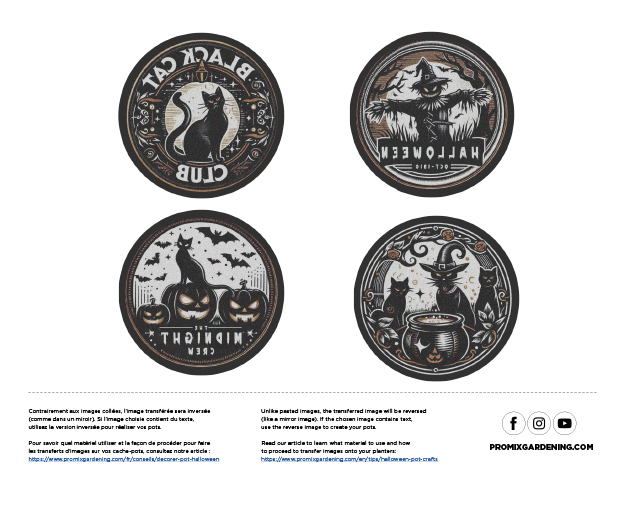
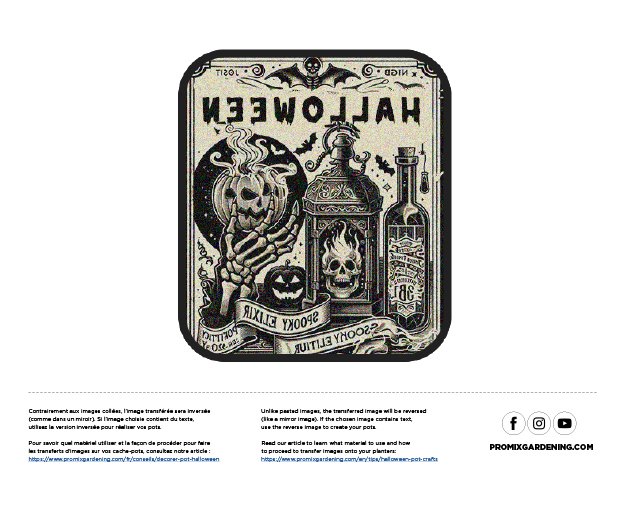
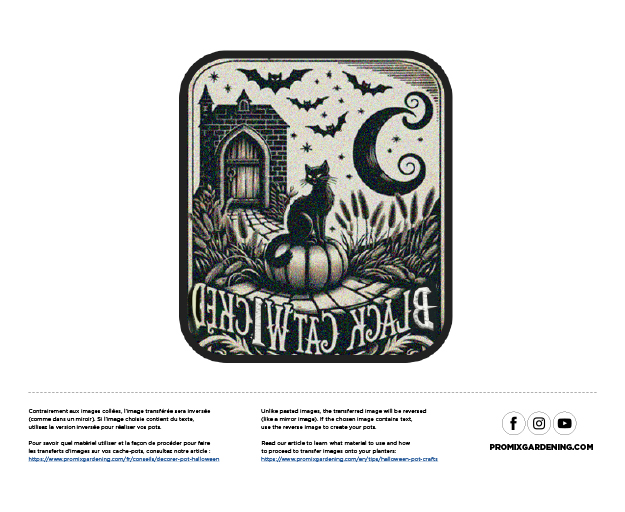
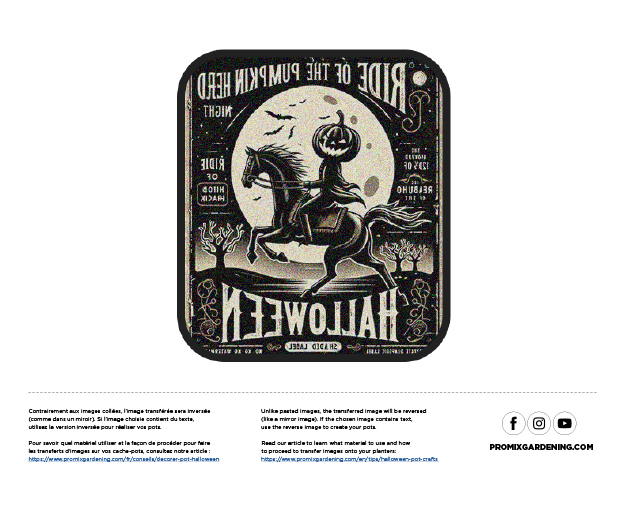
NOTE: Unlike pasted images, the transferred image will be reversed (like a mirror image). If the image to be transferred contains text, use the to reverse image for your DIY.
How to use a gel medium for image transfer?
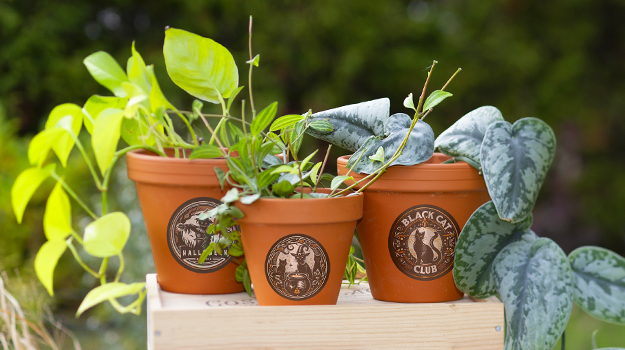
Here are the steps to follow if you're using an image transfer medium.
- Cut out your image to remove the surrounding paper.
- Place the image on your planter (image side down) and make small marks with a pencil to mark the exact location.
- Using a brush, apply a thin layer of gel transfer medium where the image is to be transferred, taking care to cover the entire area.
- Place the image (image side down) on the pot and smooth it from the inside out to remove any air bubbles.
- Remove any excess product with a clean cloth.
- Let it dry completely (some mediums require up to 6 hours).
- Once the medium is completely dry, dampen a sponge and gently peel back the paper, rubbing until it disappears completely and the image is fully revealed.
How to make a pumpkin jar for your candies?
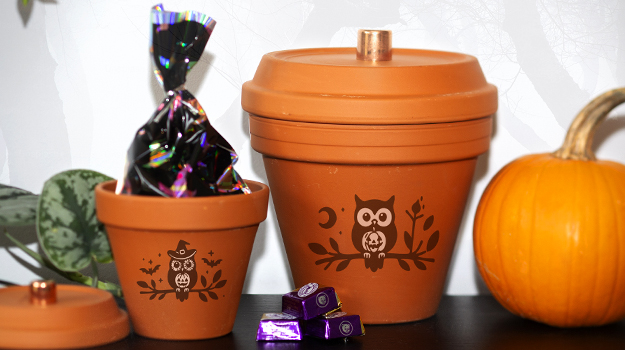
Making these pretty pumpkins isn't rocket science!
The candy jars are made from a ceramic pot and saucer. You can make a large one to hold the treats distributed on Halloween night, or smaller ones to offer, once well-filled, to your favourite little monsters.
Simply invert the saucer to use it as a lid for your candy jar. You can choose whether or not to draw a face on it. As a stem, you can use a wooden shape (available in the craft section of discount stores), a knob-shaped handle from an old piece of furniture, a piece of wood, etc.
Also try a skeleton version with a face painted on a white pot, a mummy version on a grey pot, or a Frankenstein version on a green-painted pot (have two faux bolts ready to glue at the jawline of your creation!).
NOTE: If the treats you're placing inside your pot aren't pre-packaged, slip them into a small clear bag (bulk stores offer cute candy bags!) so they don’t come into contact with the ceramic.
Click here to download and print.